How can understanding what a ‘stop’ help with controlling your camera settings?
‘Stop’ is an important piece of photography jargon. If you understand what it means, controlling your camera settings will be easier and more effective.
A ‘stop’ is the doubling or halving of the amount of light entering your camera.
In this article, I introduced you to the Zone System. This system helps photographers be more aware of the tone range in a composition. It requires an understanding of what a ‘stop’ is.
Measuring the Light and Controlling Your Camera Settings
Controlling your camera settings manually is all about allowing the right amount of light to affect the sensor. You must know how to measure the light and adjust the settings. ‘Stops’ are used to measure relative changes when you adjust your aperture, shutter speed, and ISO.
When you look at your exposure meter with your camera on manual mode, it will indicate if your photo will be well exposed or not. If your meter is showing the photo will be underexposed or overexposed, you need to make adjustments. (This is rather simplified. To learn more about well-exposed photos, please read this article.)
These adjustments are measured in ‘stops’ or fractions of ‘stops’. Older camera controls made these changes by one full ‘stop’ at a time. Modern cameras allow you to make them in increments of one-third of a ‘stop’ at a time.
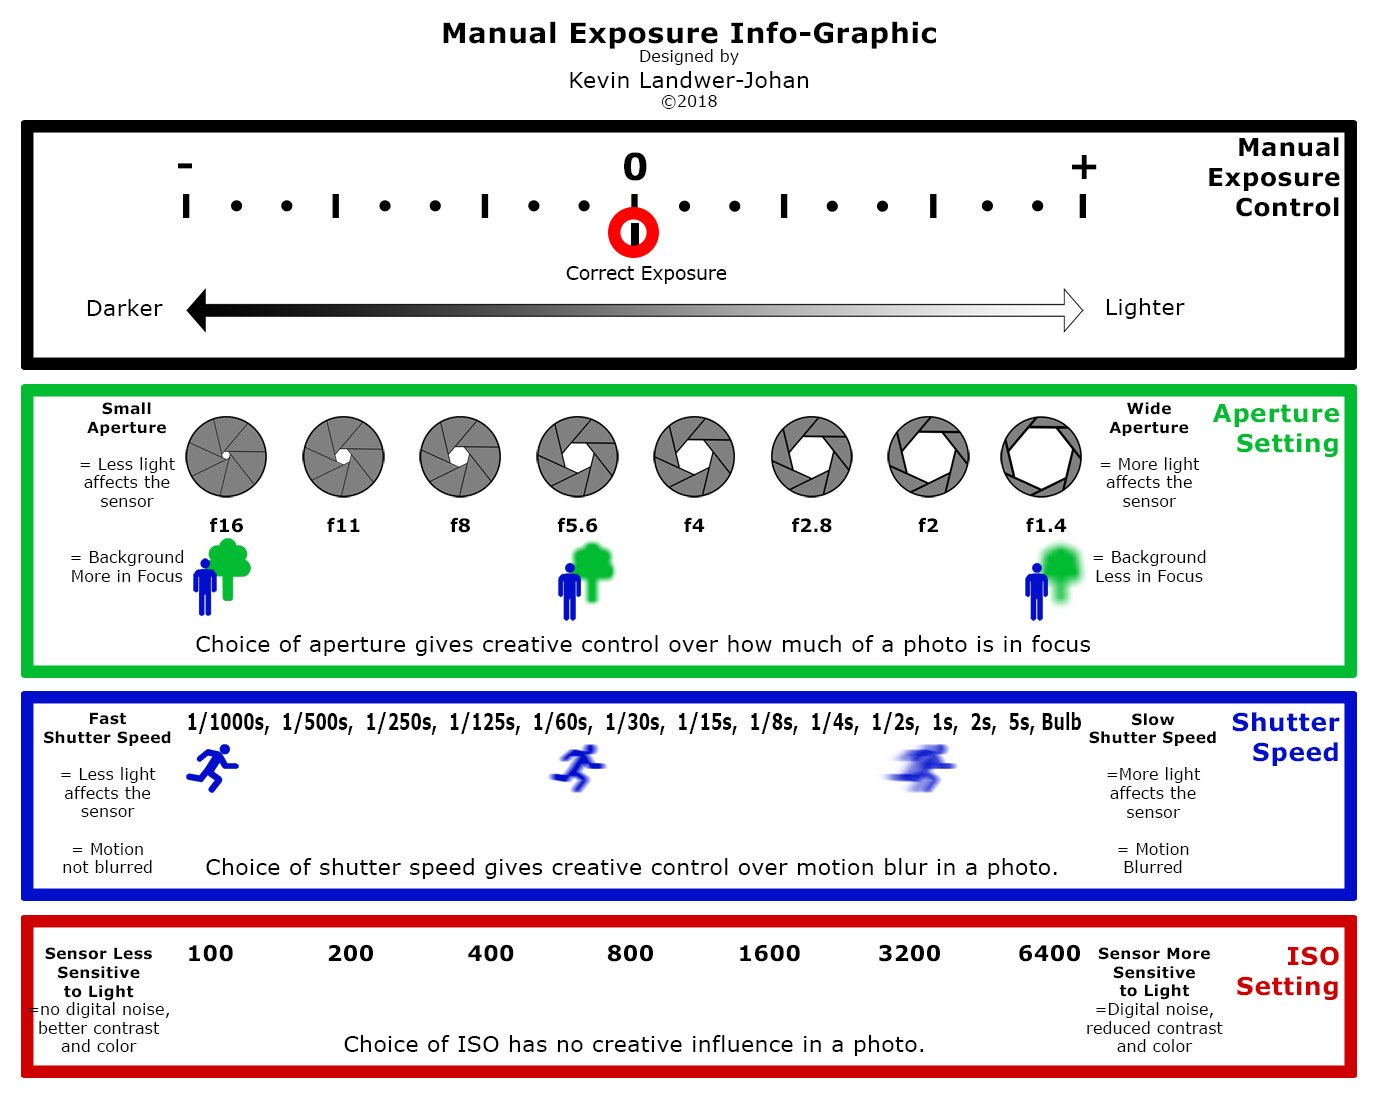
This info graphic shows the numbers used to indicate full ‘stops’ of light. Each ‘stop’ allows exactly twice as much light affect your camera’s sensor than the previous setting.
For example. An aperture setting of f/8 allows twice as much light to enter the lens than a setting of f/11. A shutter speed setting of 1/125th of a second allows half as much light to pass through to the sensor than a setting of 1/250th of a second. An ISO setting of 800 makes the sensor twice as responsive to light as a setting of 400.
Modern cameras provide the ability for you to change your settings not only by a full ‘stop’ but also in one-third increments. This affords great control but does make it more difficult to calculate one full ‘stop’ because there are three times as many numbers to remember.
Keeping the Balance between Aperture, Shutter Speed and ISO
Knowing how ‘stops’ measure the changes to your exposure you can calculate your exposure as you change the settings.
For instance, in the photo below labeled Banana 1, I manually set my exposure to 1/400th of a second, f/11, and ISO 400
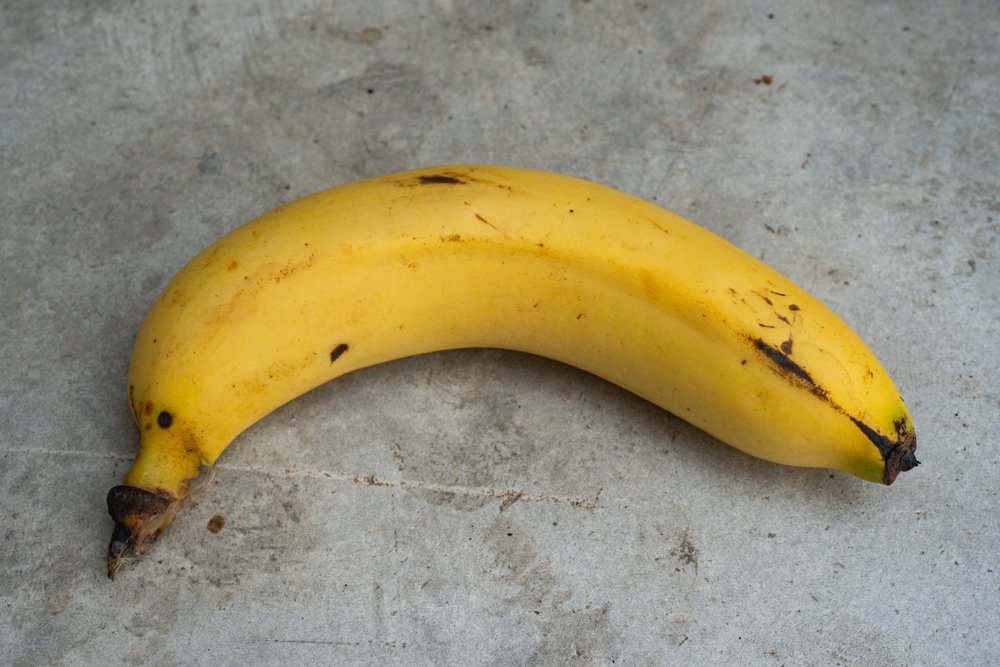
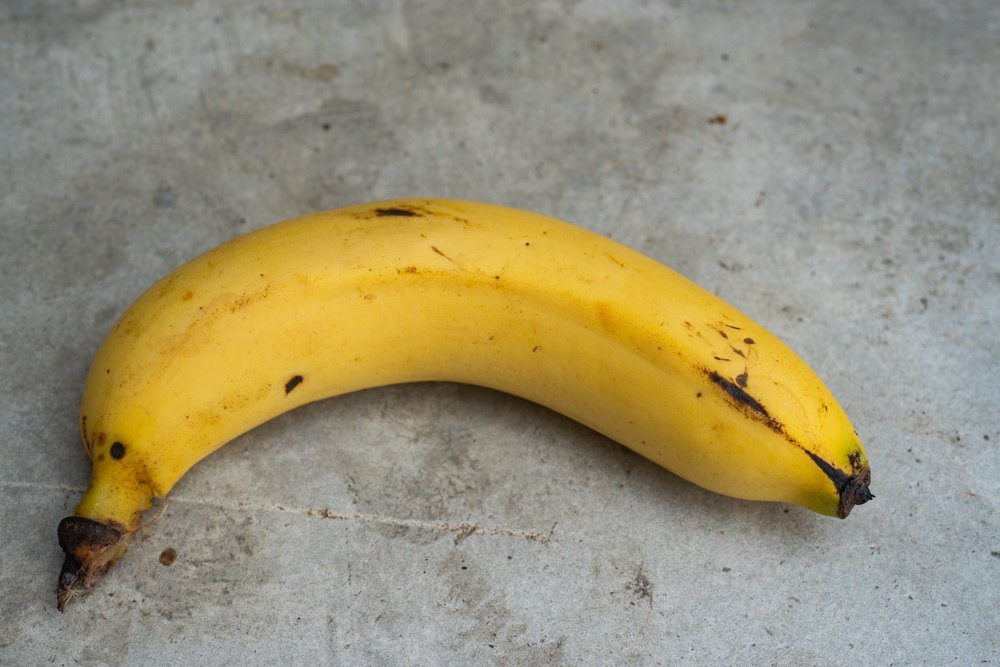
For Banana 2 I altered my exposure settings to 1/200th of a second, (one ‘stop’ slower,) f/16, (one ‘stop’ narrower,) and left my ISO at 400.
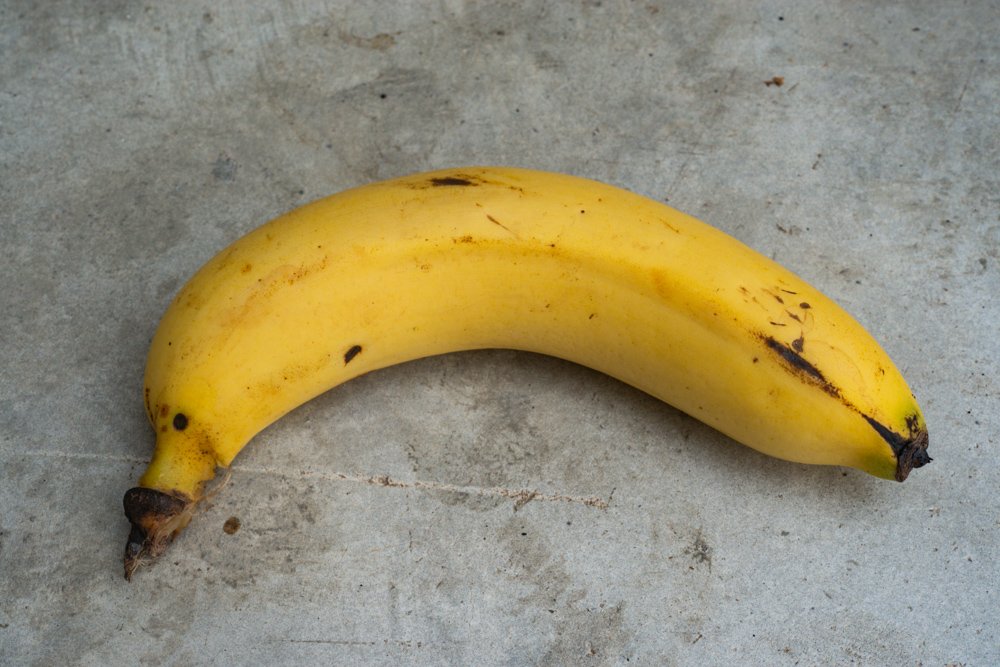
You can see the exposure is exactly the same.
In my third photo, I adjusted the ISO first to 200, (one ‘stop’ less sensitive.) I then balanced my exposure by adjusting my aperture to f/8, (one ‘stop’ wider than my original choice of f/11,) and left my shutter speed at 1/400th of a second.
Learn the Photographic ‘Stop’ Numbers
Learning the standard, old school numbers will help you in calculating your exposures more quickly and accurately when using manual mode. Knowing these numbers will also enable you to make the best use of the Zone System.
Anything creative takes commitment to master. If you want to improve your photography you must be in control of your camera settings.
Manipulating each of these settings, the aperture, shutter speed, and ISO, affects other aspects of image creation. I will give an overview of what these are in the next article in this series.