Do you know how to make the best exposure choice each time you take a photo?
Being in control of your exposure is important. Our cameras see light differently than our eyes do. You need to make sure the right amount of light your camera ‘sees’ is recorded by the sensor. This is achieved by making the best exposure choice.
If your camera records the incorrect amount of light your photo will be overexposed or underexposed. Too light or too dark.
Sometimes you’ll need to control the precise part of your composition where you want optimal exposure. This is especially important in high contrast situations.

The Problem of Contrast
When there’s too much variation between the lightest and darkest parts of a composition, you need to make some choices.
Your camera will not record detail in both the shadow and bright areas of a scene when the light and shadows are strong. You will need to set the exposure for either the areas reflecting the most light and sacrifice the detail in the dark areas, or vice versa.
Our eyes are more capable of seeing detail in a wider tone range than our cameras are. Given some time to practice this, seeing the differences will become second nature. You will more naturally be able to make the best exposure choice.
Working Out the Best Exposure Choice
Every modern camera has a built-in exposure meter. Early cameras did not.
My first camera, a Nikkormat FTN, did. This was the only thing in the camera which required a battery. It was a simple needle in the viewfinder with a + and a -. When the needle was centered between them, my exposure was correct, more or less.
Modern exposure meters provide for a greater degree of accuracy in their readings. They also have better visual displays providing you with more precise information. These things allow you to make the best exposure choice more easily.
There are multiple modes. Typically these are:
- Averaged
- Spot
- Center-Weighted
- Variable
Learning to use a combination of these modes will allow you to take precise readings from different parts of your compositions. You’ll also be able to take a general reading from the whole composition. I won’t go off on a tangent to explain how that all works in this article, but take a look at the fifth article in this series.
The Easiest Method to Learn Manual Mode
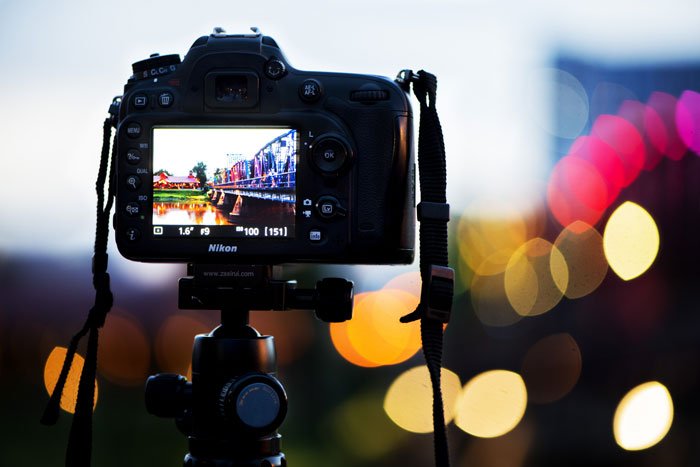
Your camera’s monitor will assist you in making correct exposures effortlessly. Well, most cameras include this feature. Some Nikon cameras, and maybe others, do not. Digital viewfinders also allow you to use the method I will outline in my next article in this series.
Here’s how you can know if your camera will show how your exposure will look.
Step #1
With your camera set to manual mode open ‘live view’ or just look through your digital viewfinder.
Step #2
Adjust your aperture setting to the narrowest opening, (the highest f-stop number.)
Step #3
Adjust your shutter speed to it’s fastest setting, (the highest number.)
Step #4
While watching your monitor or looking through your digital viewfinder, set your aperture to the widest setting, (lowest f-stop number.)
Step #5
Now begin to change your shutter speed to slower settings, (lower numbers)
As you were making these adjustments were you able to see the image brightness altering in relationship to the changes? If so, you can make use of your monitor and/or digital viewfinder to help you choose the best exposure when you use manual mode.
Did your monitor or viewfinder continually showed the scene your camera was pointed at clearly as you made the changes? If so, you are not able to use it to gauge exposure and you will need to learn to use your camera’s exposure meter. I explain in more detail how to use this technique in the next article in this series.
Don’t worry, it’s not rocket science. It just takes some understanding and practice. I explain how to use it in the fifth article in this series on using your camera in manual mode.
Before you go, be sure to check out this video on the subject of learning to see how your camera sees.