How To Overcome Unwanted Motion Blur in Your Photos
by
Kevin Landwer-Johan
A common cry emanates from photographers when they find their photos contain unwanted motion blur. This anguish is most frequently heard when we sit at our computers with an image at 100% zoom. Sure that it looked sharp on the camera monitor the life-size version appears as one big unsharp smudge.
In this article I’ll teach you how to avoid unwanted motion blur because there is no way to fix it once it’s happened. Sharpening tools will not effectively repair blurred images. They are just not that effective. So how do you overcome unwanted motion blur in your photos?
A Slow Shutter Speed is Always the Problem
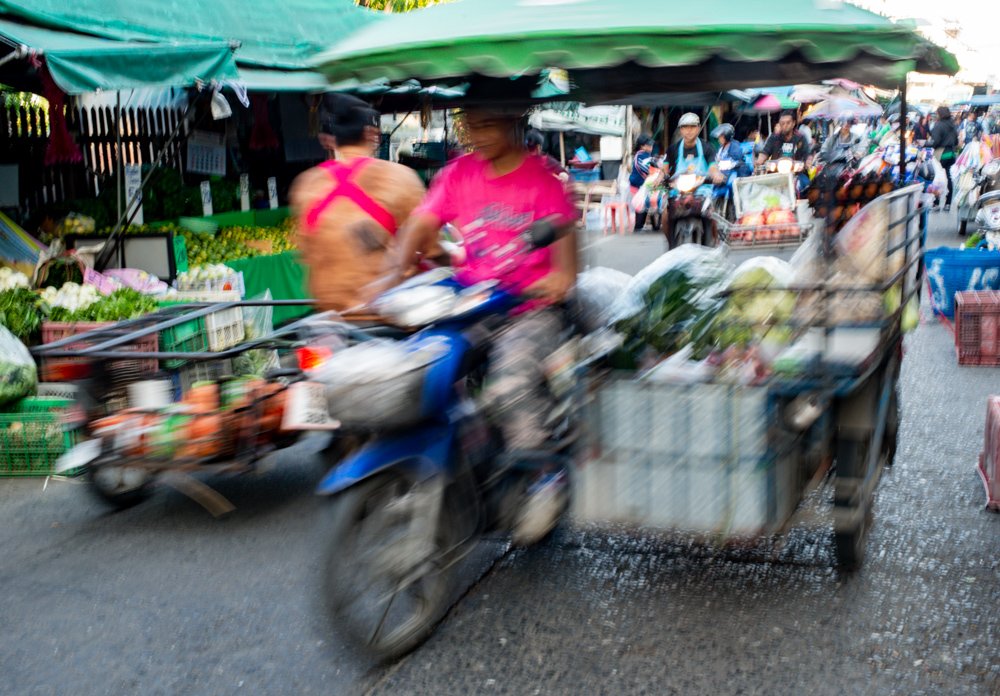
A moving subject will blur because of the relationship between how fast it’s moving and the shutter speed. The faster your subject is moving, the faster your shutter speed needs to be to avoid unwanted motion blur.
Choosing a shutter speed below what you can comfortably handhold will produce unwanted motion blur across your entire composition.
Camera Settings and Motion Blur
Aperture priority is a popular choice of exposure mode. Not used carefully enough can easily result in ruined photographs because of unintended movement.
Using aperture priority you set the f-stop and your camera calculates the shutter speed required for a good exposure. When the light is low or when you’ve chosen a narrow aperture this results in blurring. The camera cannot set a shutter speed sufficient to avoid camera or subject movement causing blur. Program and scene modes can also cause the same problem.

1/250th of a second shutter speed was not fast enough to completely freeze the bees.
Manual mode is not fail-safe either. It is easy to forget checking your shutter speed and considering if it’s fast enough. This can reslt in unwanted motion blur. However, when using manual mode you are more likely to be aware of your settings. This is because you must adjust them yourself rather than the camera being in control. You must be constantly aware of your shutter speed and control your settings so they are appropriate for what you are photographing.
How To Overcome The Problem of Movement
Shutter priority and manual modes allow you to control your shutter speed. Whatever mode your camera is set to you must be aware of the duration your shutter will open for when you press the button. This helps you avoid unwanted motion blur.
Altering your ISO setting is the best way to overcome blur from camera or subject movement. By choosing a higher ISO setting your exposure can then be balanced by setting your shutter to a faster speed.

Nothing is sharp because of camera shake.
Each stop higher you make your ISO you will be able to make your shutter speed the same number of stops faster. (If you’re unfamiliar with ‘stop’ measurements, please read this article.)
For Example
So, for example, if your ISO is set at 100 and you have a shutter speed of 1/30th of a second it may be too slow. At that shutter speed many people cannot hand hold a camera and obtain photos free of camera shake blur. Increasing the ISO by 200% to ISO 400 will allow you to increase your shutter speed by 200% to 1/125th of a second. Most people can handhold a camera at this shutter speed and not encounter camera shake problems. When using a very heavy lens attached or it’s very cold you will need to choose a faster speed.
If you’re using an Olympus model with 5-axis VCM image stabilization this gives you an unprecedented advantage. You are unlikely to have problems hand holding your camera at very slow shutter speeds because of the technology it embodies.
Use Your Tripod
Making use of your tripod, or placing your camera on a stable surface, can help avoid camera shake blur.
When you are photographing a static subject you can use a slow shutter speed and not be worried about blurring if your camera does not move.
Many people prefer not to work with a tripod. Sometimes it’s the best option to carry one with you, especially if you might be photographing in low light situations.
Modern tripods come in many shapes and sizes. I have a collection of tripods I have built up over the years and use them each for different purposes. The type of tripod you choose depends on what you like to photograph.
Different Types of Tripod
Travel tripods are lightweight and compact. They are easy to carry and can often fit inside luggage or to the outside of your camera bag. They are best used with smaller, lighter cameras as the weight of a full frame body with a battery pack and huge lens may be too heavy.
Larger, more steady tripods are better suited to larger, heavier cameras and lenses. But they are not so portable. You must remember the old saying, ‘If you don’t know you’re carrying a tripod, it’s not worth carrying’. A lightweight tripod may be convenient. But it might not be at all practical with a big heavy camera mounted on it.
Sometimes very small tripods are sufficient and practical, even for larger cameras. GorillaPods can be used effectively with many cameras if you are careful where you position them. Often I find it best to splay the legs right out on a surface so they are not supporting the whole weight of my camera. This gives me the stability I need and allows me the flexibility to point my camera in the direction I want to. Using a GorillaPod can be much more convenient than just resting your camera on a stable surface.
One of my favorite tripods is the Benbo 1. This radically designed tripod affords more flexibility than most. It’s universal joint means you can place the legs anywhere. It’s particularly brilliant to work within confined spaces. I used mine extensively when photographing the inside of this yacht’s hull as it was being constructed. I could press it right up to the inside of the hull, with two legs in the ground and the third swung up above and supported by the inner face of the hull.
Experiment with Shutter Speed and Motion Blur
The best way to learn photography is to put into practice what you are studying. Try these two practical experiments.
When Does Camera Shake Become a Problem?
With a standard lens on your camera, (one that’s not too heavy,) set it to use Shutter Priority.
Make your shutter speed 1/250th of a second. Photograph a static subject. Next, continue to take a series of photos, each time making your shutter speed one stop slower. Make sure you are holding your camera well so that it’s as stable as possible each time you take a photo. Keep changing your shutter speed and taking photos until you reach a speed of 1 second. If you are using an Olympus camera with 5-axis VCM image stabilization, continue down to as slow as 20 seconds.
Check your series of photos at 100% zoom on your computer. At what shutter speed do your photos become blurry? One stop faster than that speed is the slowest you should handhold your camera at.
How Does the Speed of Movement Affect Your Photos?
Using a tripod or with your camera on a stable surface, photograph a number of moving subjects. Try photographing people walking, or dogs running, traffic, a ball bouncing. Any number of subjects which are moving at different speeds.
Take a series of photos of each subject, all with different shutter speeds. This way you will begin to see the relationship between the speed your subject is moving compared to the length of time your shutter is open for. The fast your subject is moving, the faster your shutter speed will need to be to keep it from being blurred.
Bad Blur – Good Blur
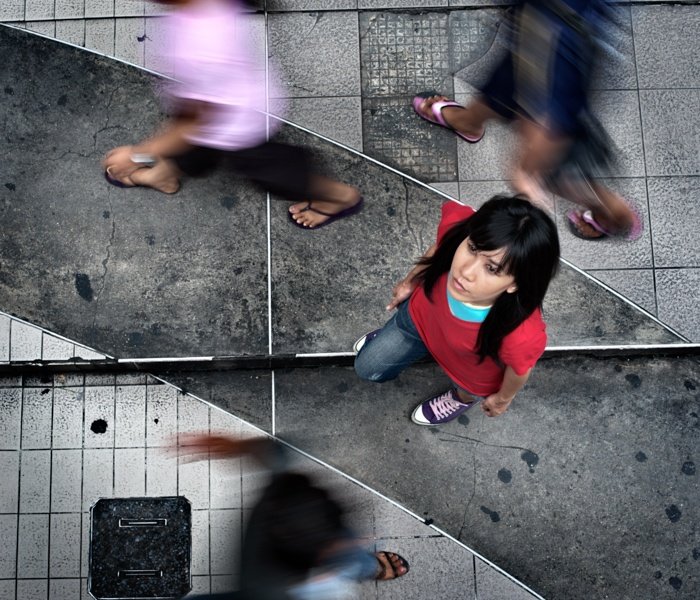
Intentional motion blur can enhance the feeling of movement in a photograph. Left to chance, a shutter speed that’s slow will cause problems. Carefully controlled slow speed will produce blurring that brings a picture to life. Waterfalls with the silky softness, panning moving subjects of even portraits with movement around the subject can all be very effective.
Further Reading
If you’ve enjoyed reading this post you will also enjoy “Manual Mode Meltdown? – Here’s How to Overcome It” and “How To Effectively Master Your Camera’s Exposure Meter.”
