Photographers love to make the most of depth of field.But many of them are not sure how to control it to obtain a great looking blurred background.
In this article I’ll walk you through the various things that contribute to a shallow depth of field.
Depth of field (DOF) is the part of your composition which is acceptably in focus. Knowing how to control it is essential if you want to make the most of it.
Having too little or too much of you photo in focus can mean it does not have the impact you intended. Too much focus means your subject may be lost in the background. Too little focus may mean relevant visual information is lost to the viewer. Carefully controlled it can make your images pop.
How to Control Depth of Field
Depth of field varies depending on a number of different factors. These are:
- Aperture setting
- Lens focal length
- Sensor size
- Distance from camera to subject and distance of subject to background, (assuming your focus point it on your subject.)
Aperture setting is most commonly associated with controlling the DOF. It does, but not on its own, these other factors have an influence as well.
The wider your aperture setting, (the lower your f-stop number) the less you will have in focus. The narrower your aperture, (the larger f-stop number,) the more you will have in focus. Lenses with wider aperture settings like f2.8 and below are more capable of achieving a very narrow DOF.
Using a wide-angle lens more will appear in focus at any given aperture setting than when you use a longer lens. The longer the lens, the shallower the DOF appears.
Sensors of larger physical dimensions, (not megapixel count but actual size,) have a shallower DOF with any lens and aperture setting than cameras with smaller sensors. This is why it is easier for a full-frame camera to produce photos with a shallow DOF and less so with a compact camera or a phone. This is because the sensors in compacts and phones are so much smaller.
The closer your camera is to your subject the shallower the DOF will be. When you are taking macro photos you need to use a narrower aperture to achieve enough DOF.
The further your background is from your subject that you are focused on the more blurred it will appear. A background close to a subject will appear sharper than one further away. If you want to achieve a blurred background move your subject further away from it.
All these factors work together to control DOF. You can decide how much or how little of your photos are in focus by controlling each of them. Sometimes you will want to have everything in focus. The easiest way to do this is with a wide angle lens and a high f-stop number. Other times you may want your subject in sharp focus and your background blurred. The easiest way to achieve this is with a full frame camera with a telephoto prime or zoom with an aperture that opens up to at least f/2.8
When You Want It All In Focus
Landscape photographers often prefer to work with wide lenses. This allows them to frame more in their compositions, but it also allows them to have sharper looking photos. A wide lens used with a narrow aperture will produce photos which are mostly sharp.
This is also why landscape photographers often use a tripod. With a very narrow aperture it’s necessary to use a slower shutter speed or high ISO. A higher ISO will produce a lower quality image so using a tripod is a better option.
The longer the focal length lens you use the more difficult it is to have everything in your composition sharp. The further you are from your subject, the sharper it may be, but this is not always practical.
If you have more than one camera and they have different sensor sizes, use the camera with the smaller sensor to achieve a deeper DOF.
Street photographers often prefer to work with wide lenses, smaller cameras with smaller sensors and narrower aperture. The nature of street photography often involves stealthy photography and moving subjects. The greater depth of field you can achieve the greater likelihood you will capture your subject in acceptable focus.
When You Want A Shallow DOF
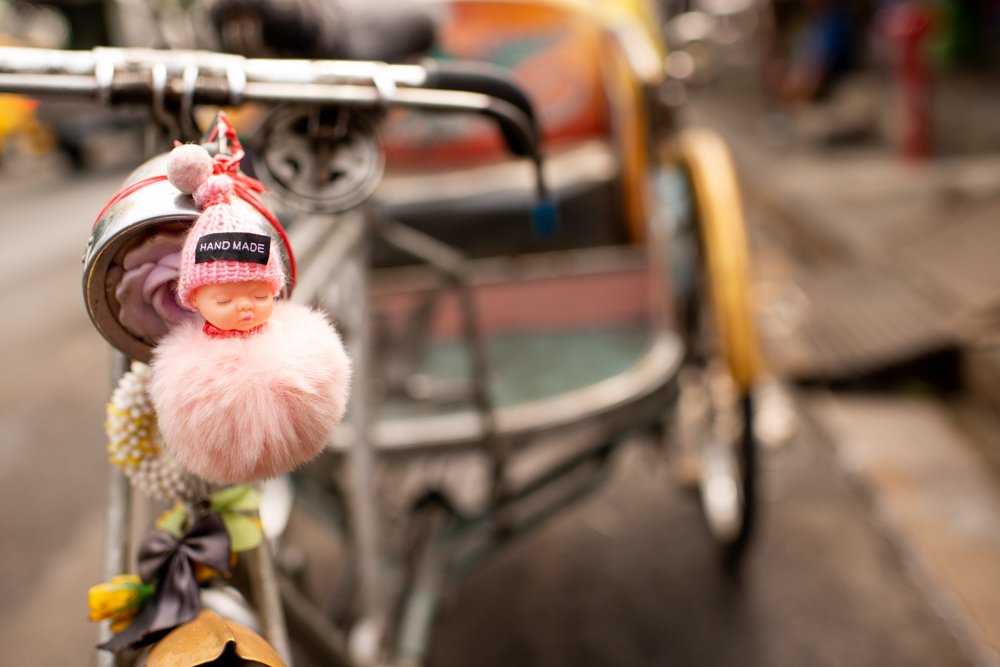
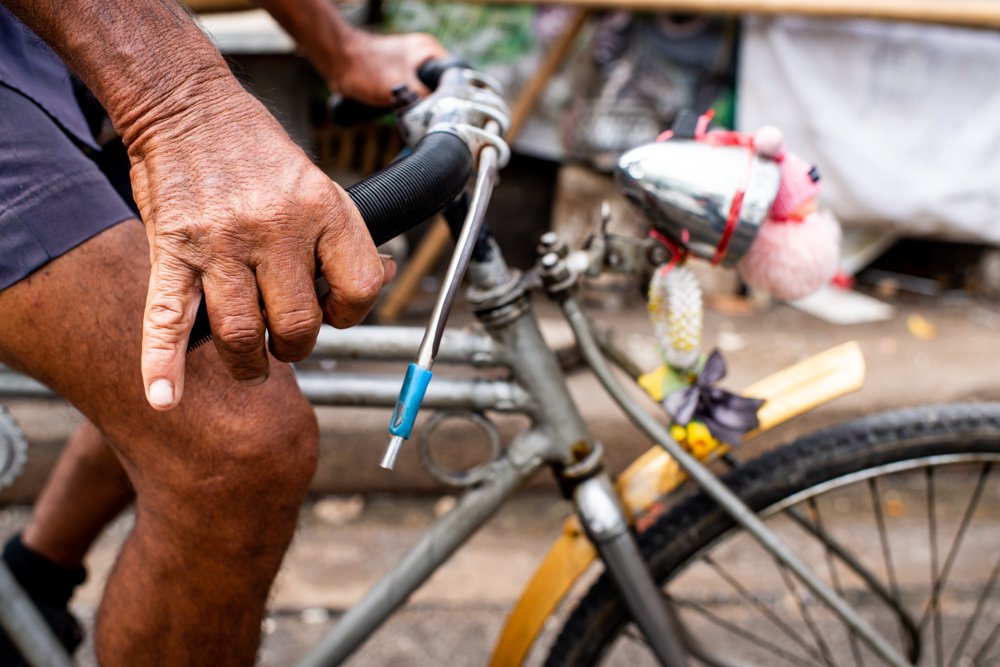
Using a shallow DOF you can isolate your subject and draw attention to it. Whenever you have a distracting background that has no relevance to the picture you want to make, use a shallow DOF.
Often this is best achieved with a wide aperture setting, but not always. Sometimes you will not have enough of your subject sufficiently sharp. The background may look fabulously soft, but so may some of your subject.
Knowing how your lenses respond at different aperture settings and distances from your subject is helpful. If you can get in close with a 35mm lens and set it at f/4.5, it may be better than using a longer lens or a wider aperture. Pay attention to how much of you subject is in focus and how soft your background is.
Moving your subject further from the background is another way you can keep all of your subject sharp and have your background blurred. The further from the background your subject is the more blurry the background will be.
When Finding the Balance is Best
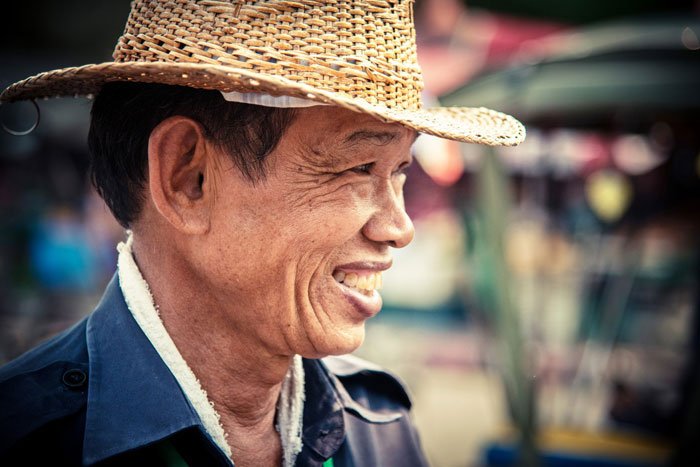
Sometimes you want to show a little background. This is particularly important in photos like environmental portraits.
When you have a main subject and their surroundings are part of the story you are telling, it’s good to be able to see them. If they are too sharp, they may still distract. By making careful choices about DOF you will be able to control it so enough detail is discernible without being distracting.
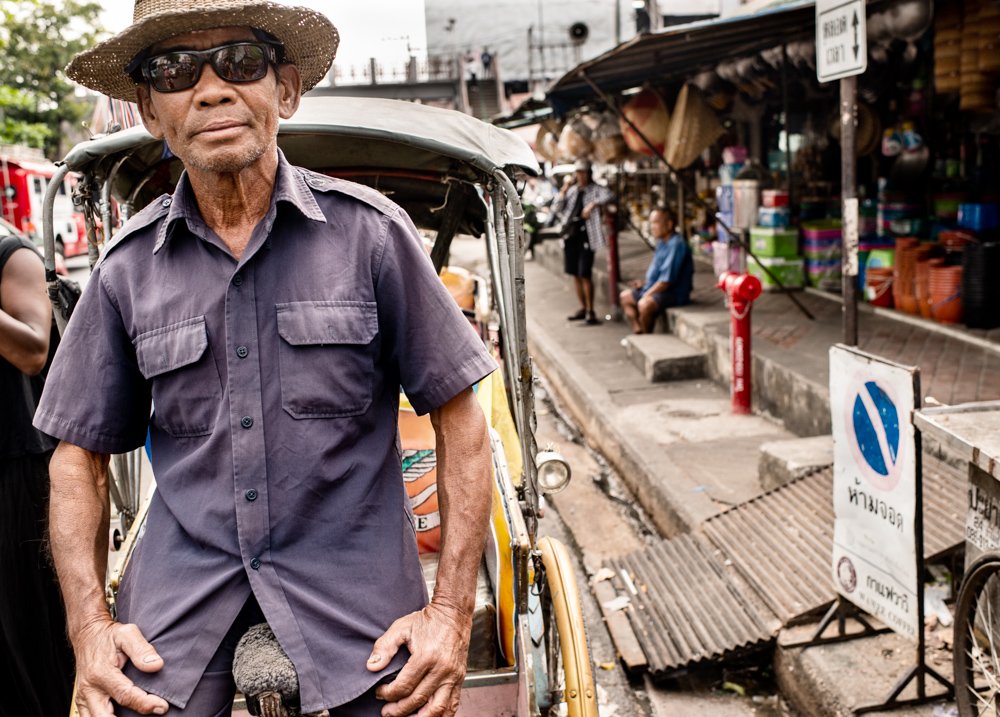
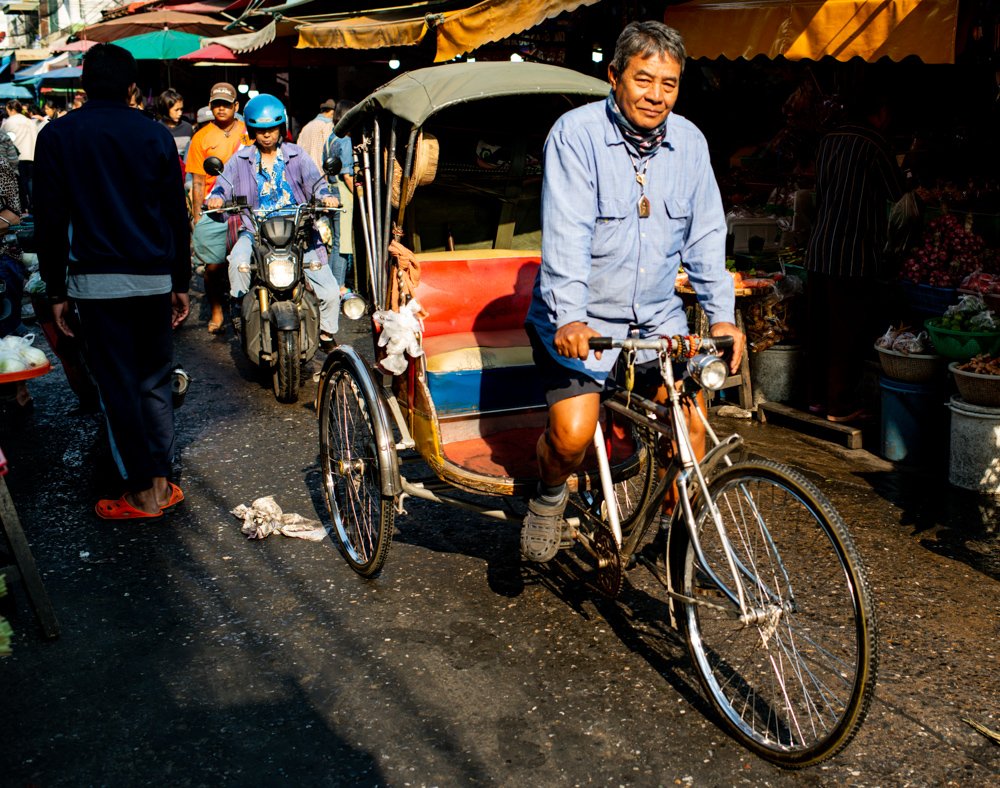
For this portrait of the tricycle taxi rider, I wanted him to be the main focus. In this location the background is traffic in the street and billboards. It’s not really attractive or meaningful to a portrait like this.
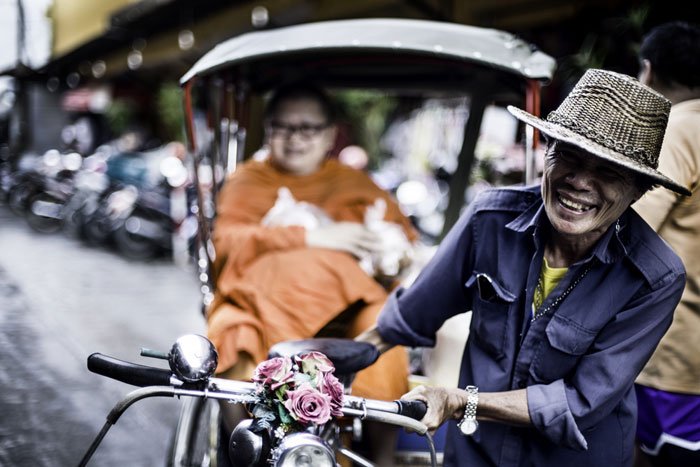
I got lucky. Just as I had set my exposure, another rider was passing in the background. I positioned myself suitably. For this photo I wanted the other rider to be not too blurry as he made a perfect addition to the background.
If he had been more blurred it would not be plain to see that it was another tricycle taxi. If the taxi and rider had been more in focus they would have distracted from my main subject.
Making the Most of DOF
Using manual exposure mode you have control over your aperture setting and the shutter speed. Aperture priority mode is another option you can use if you have not stepped into using manual mode yet. Aperture priority allows you to set the aperture and the camera will choose the shutter speed.
Consider what lens you are using. The more familiar with your lenses, the easier you will know how your photos will look at any given distance from your subject. This is one reason I love using prime lenses because they are easier to get a feel for.
The most important thing is to be aware of how each different factor is affecting your DOF and you being in control of it.
